Introduction: In this tutorial, we have shared step-by-step, illustrated instructions to flash Firmware on Sony Xperia devices using the Sony Mobile Flasher Tool on Computer.![]()
Things You will need for this guide:
- A Windows PC
- USB driver installed
- Sony mobile flasher Tool
- Firmware of your Sony Xperia device
- Your device should have a battery backup of more than 40% will be good enough
Step 1: Download and Install Sony Xperia USB driver on your Windows Computer. If the driver already installed in your computer, skip this step.
Step 2: Download Sony Xperia firmware of your device and extract downloaded zip files on your Computer. After the extracting, you will be able to see the following files:

Step 3: Download and Install Sony Mobile Flasher tool in your Windows Computer.
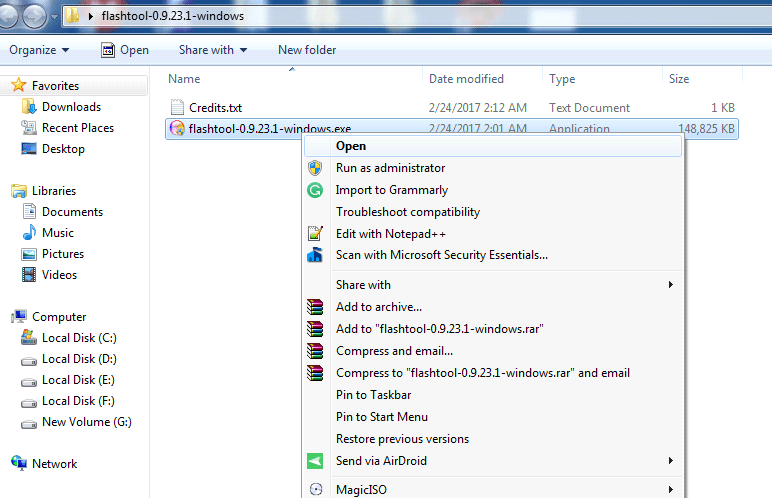
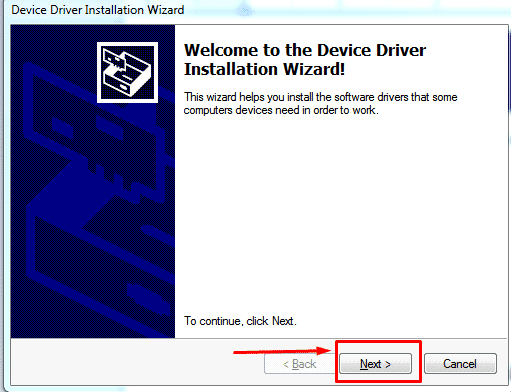
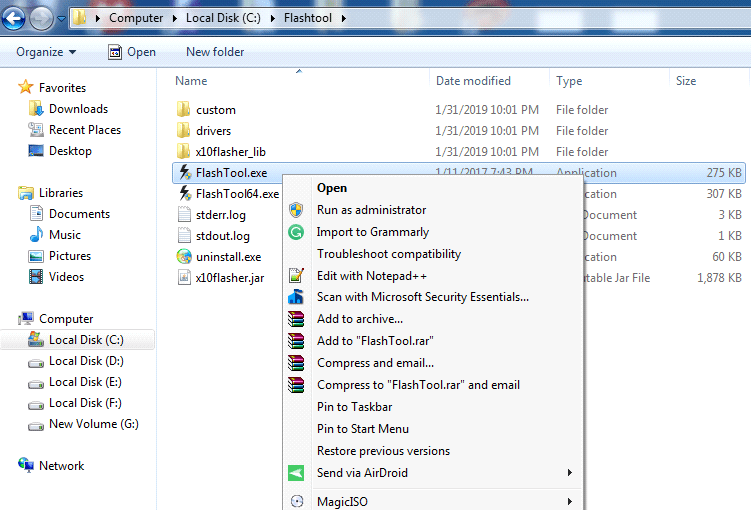
Step 4: Sony mobile flasher will install in its default location and that is C: drive >Flashtool open it. As shown in the picture below.
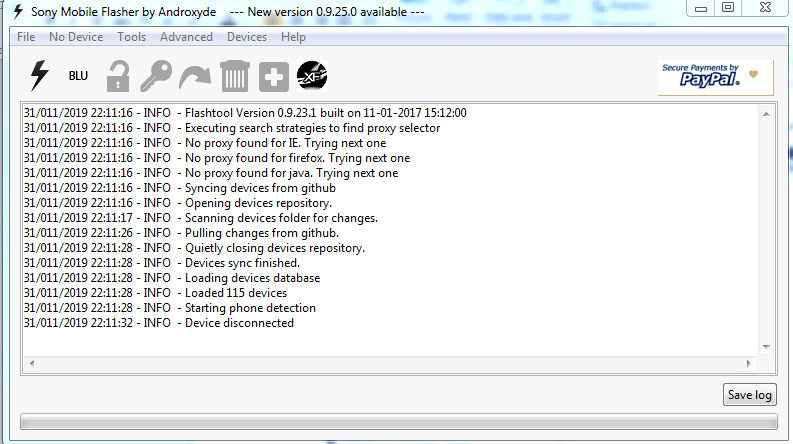
Step 5: Once the application is launched, you will see the following screen.
Step 6: Click on Flashmode Icon And select Boot Mode as a Flashmode.
![]()
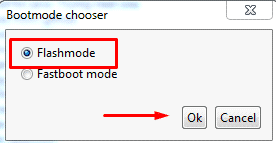
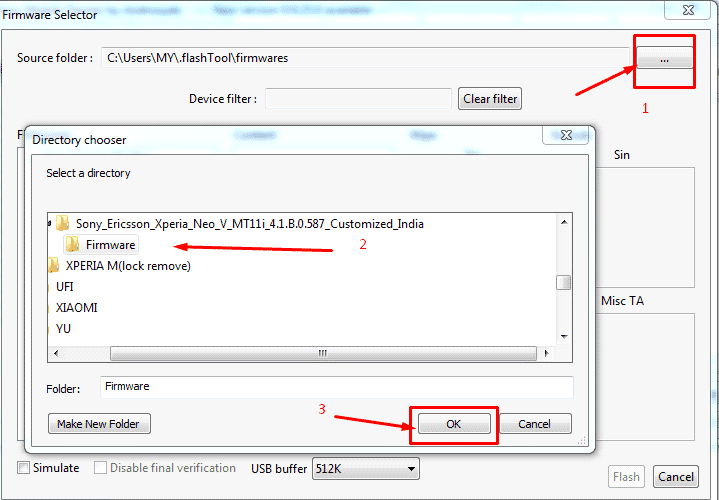
Step 7: Now we Recommend you to Move your Device firmware file in C:\Users\MY\.flashTool\firmwares As it is the default Source folder of Sony flasher. Or You can also browse your firmware.
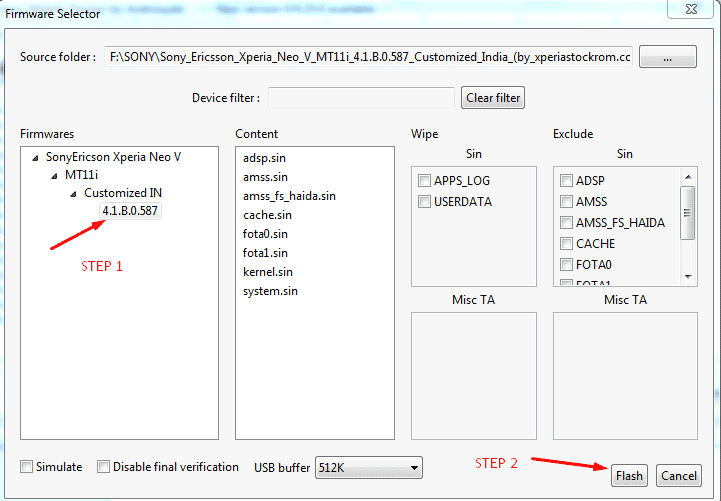
Step 8: Now select the firmware and click on the Flash button.
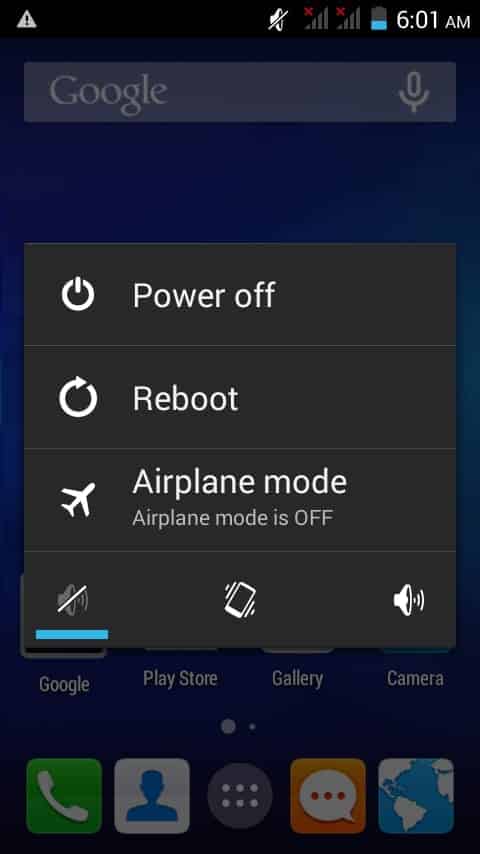
Step 9: Now Power Off your device.
Step 10: Now, sony flasher will ask you to connect your device in Flashmode for that follow the instruction as shown in the image below.
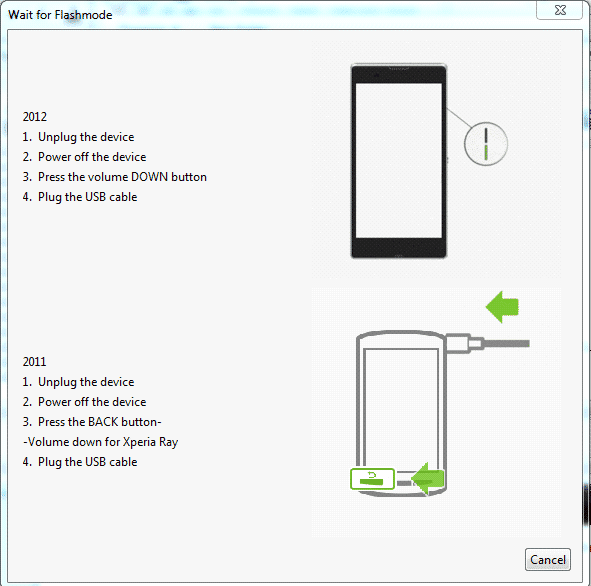
Step 11: Once you have successfully connected your device in flash mode, Sony flasher will start the flashing process, And it will take around 5 to 15 minutes to complete the process.
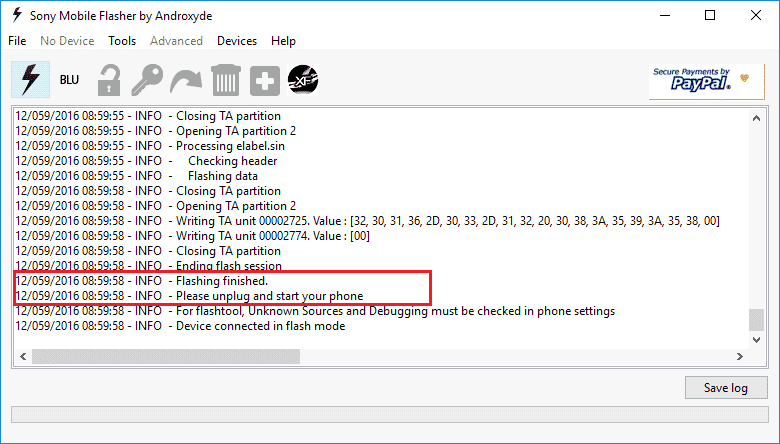
Step 12: After completing the process, you will be able to see a flashing finished message in Sony Mobile Flasher tool window (as pictured below).
 Congratulations, You have now completed the flashing process. Now unplug the device and turn it on it will take around 10 to 15 minutes to boot up as first boot takes some time.